|
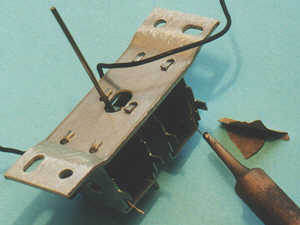
Older Peco point motors
(switch machines) had an armature fitted with an activating
pin just long enough to operate a turnout when the motor
was attached directly to the tunrout base. If the motor is
mounted on the underside of a baseboard it is neccessary to
extend the pin in some manner. Fortunately it is (or at
least was) possible to obtain replacement armatures from
Peco, I believe these are what is now fitted to their point
motors as standard, which can with care be used to replace
the old short pin armatures. |
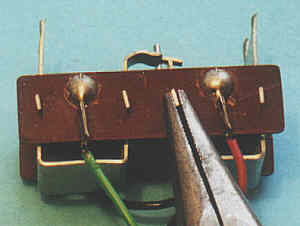
| To remove the fibreboard
from each side of the coils first straighten the lugs on
the coil frmaes so they line up with the slots in the
board. |
 |
 |
Then gently prise the
boards of the coil lugs. I grip the board with a pair of
snipe nosed pliers and gently rock it back and forth such
that it 'walks' up the lugs. The reason for the caution is
that the wires from the coils to the board are very thin
and just long enough to allow the board to be freed,
usually. If you break a wire don't panic, they can be fixed
(see the bottom of the page). |
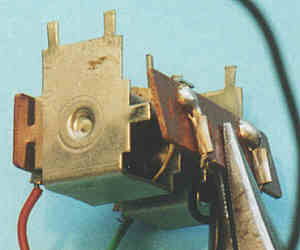
| With the boards free it's
just a case of pulling out the old armature and replacing
it with the new one. I found it easiest to ease a coil off
one end of the armature then turn the other coil slightly
so the armature slid out, the wires aren't long enough to
simply pull each coil away from the centre. You'll see what
I mean when you get to this stage, just take things slowly
and gently. |
 |
 |
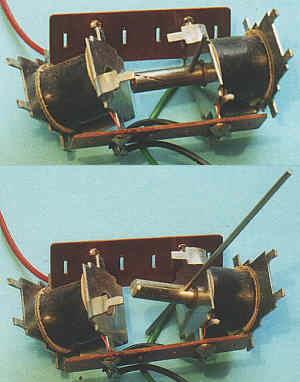
With the new armature in
place we reach the easy bit. Push the lugs on the coil
frames through the slots in the fibreboard and, gently
pressing the board home, give the lugs a little twist to
lock things in place. I would recomend fitting both boards
before bothering to twist the lugs. With the boards in
place you can hold the point motor between the finger and
thumb of one hand whilst operating the pliers with the
other. |